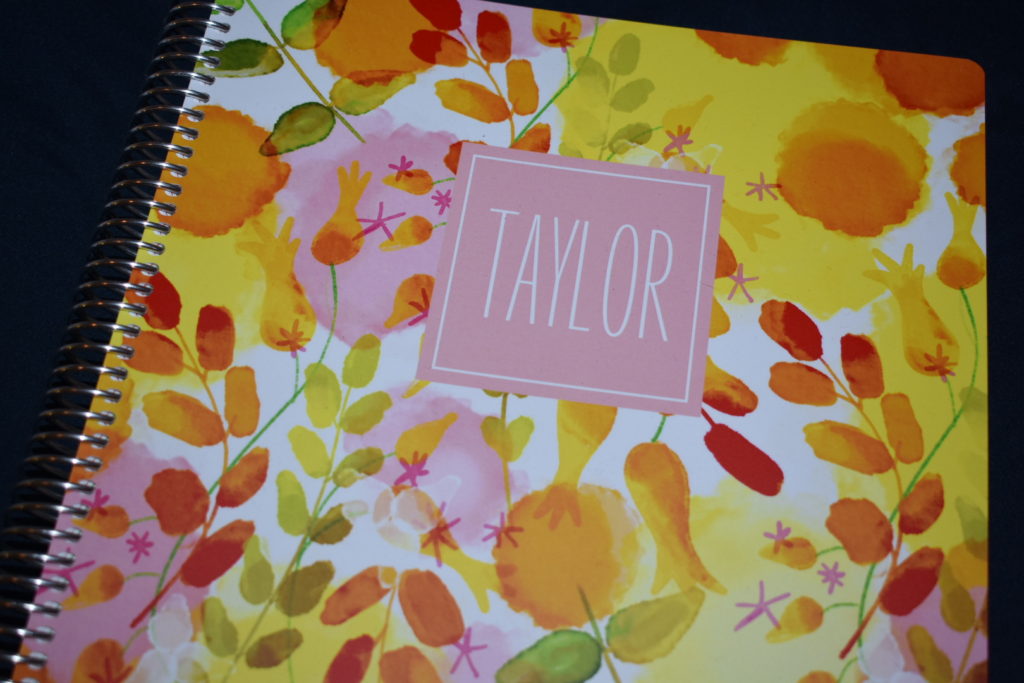
The cover of my planner!
I use a Plum Paper planner now! Plum Paper planners are 100% customizable. From the insides to the outsides these planners can truly be customized to suit your every need! I’m going to take you through the process I went through when I designed my planner!
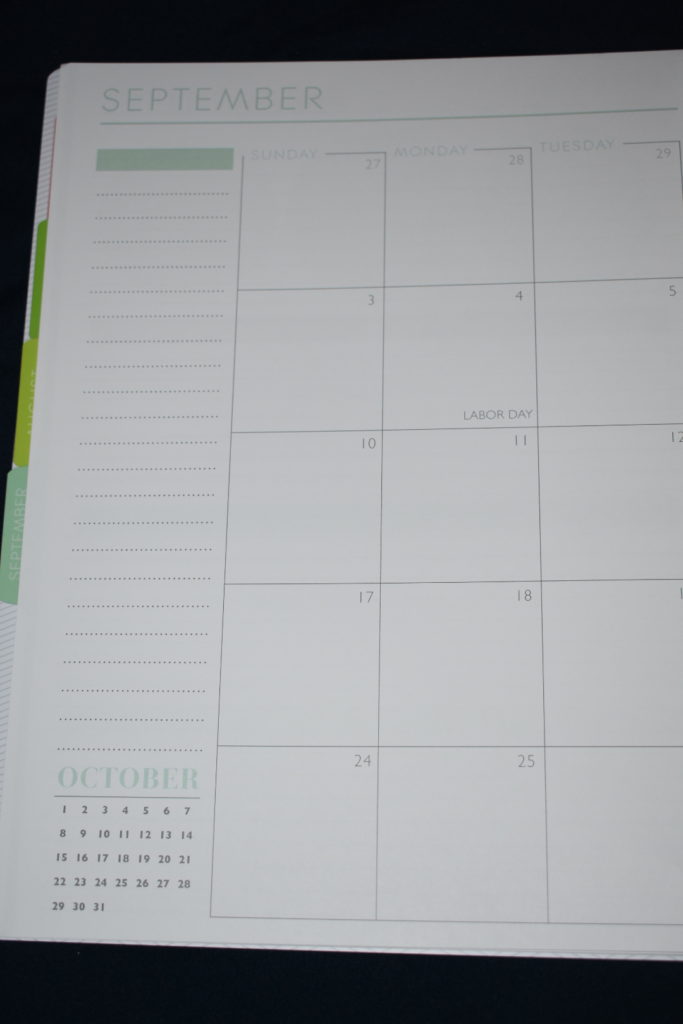
What the monthly view looks like
So, you start your planner journey on Plum Paper by choosing the size of you planner. Mine is a 9 by 11 so the size of a piece of paper ifI could go back and change anything I would choose the smaller option 7 by 9, which is still a medium size planner and definitely has room for everything it is just slightly more reasonable to carry around.
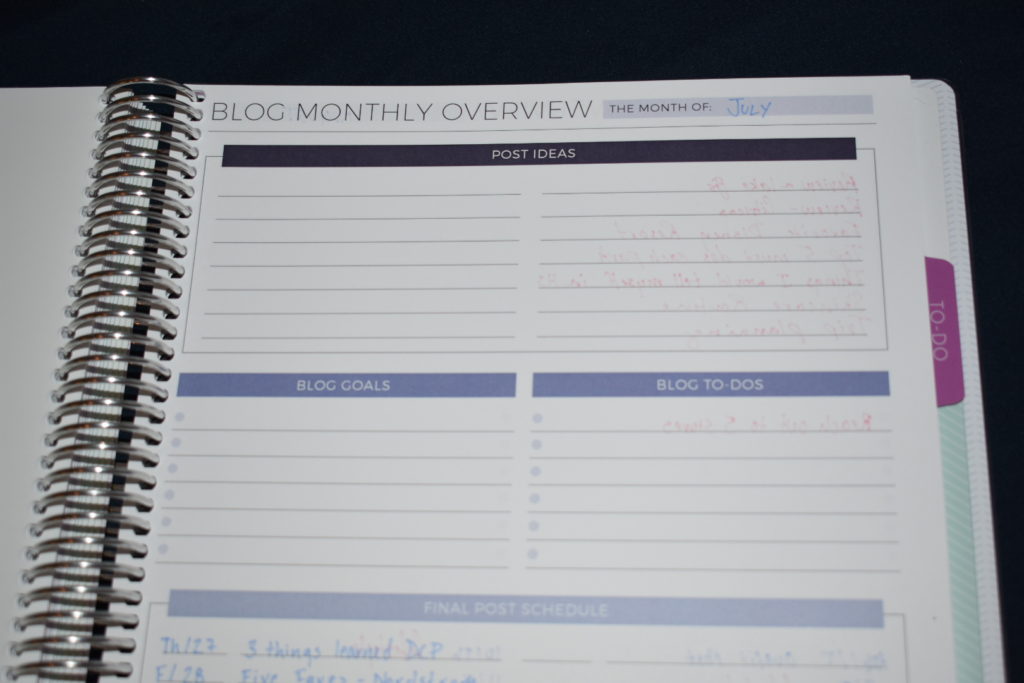
The add-on blog pages
The second thing you customize is the layout. They have a ton of different options but I went with the horizontal two-sided day. It’s awesome it has a ton of room under each day, a great notes sections and a monthly view.
I used a few add ons, I added a blog planning section and a few additional notes pages!
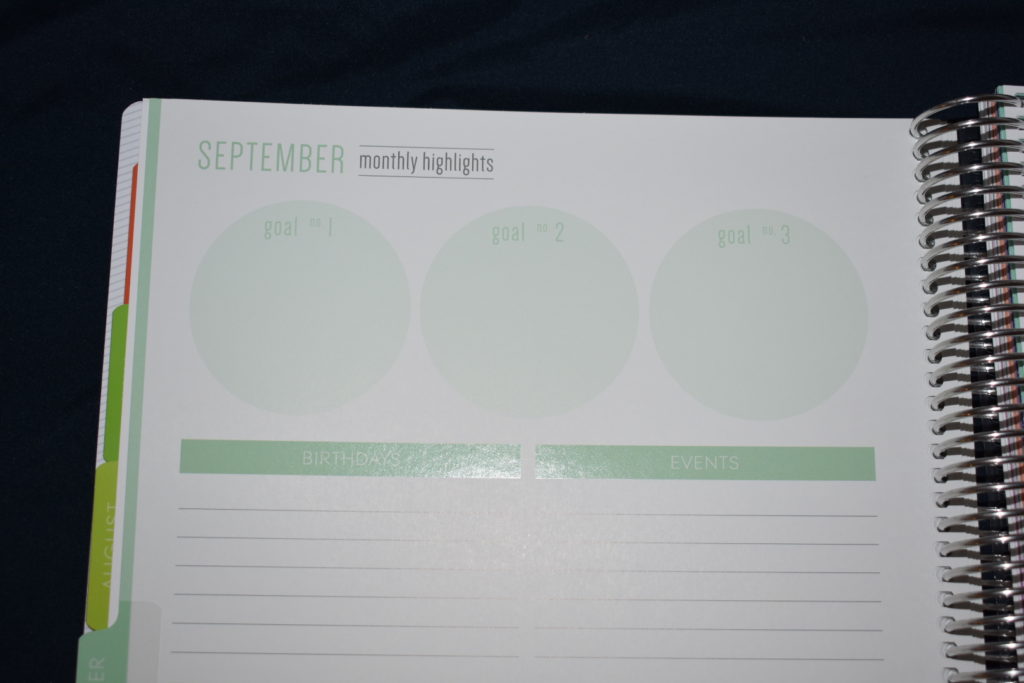
The start of each month section
The next part is the most fun! You get to customize the front of the planner. That means a custom background, font and date. Plum has so many fun backgrounds and colors there is something for everyone!
A few notable things I love about Plum Paper:
- The fact that you can start the planner on any month (no need to wait till august for a new planner)
- The blog planning section is amazing but I also love the home and financial planning sections
- All of the cover options
- The fact that you can buy a new cover and replace you current one (incase boredom strikes)
I LOVE my planner. I am currently considering getting a smaller version for on the go and keeping my bigger planner on my desk but I just can’t commit!
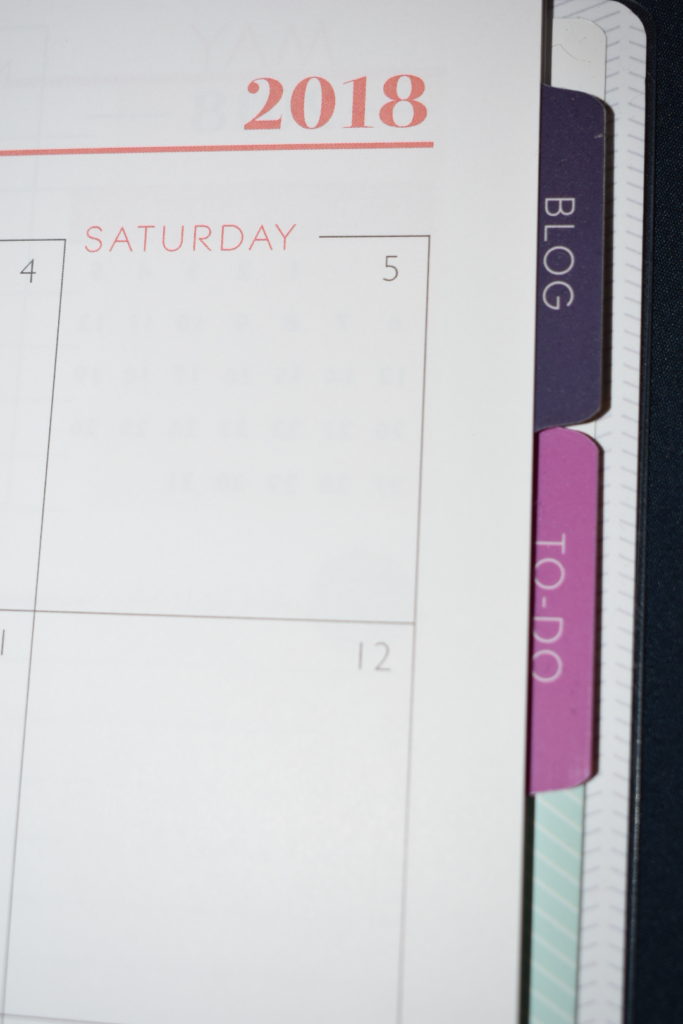
Where the add-on pages go